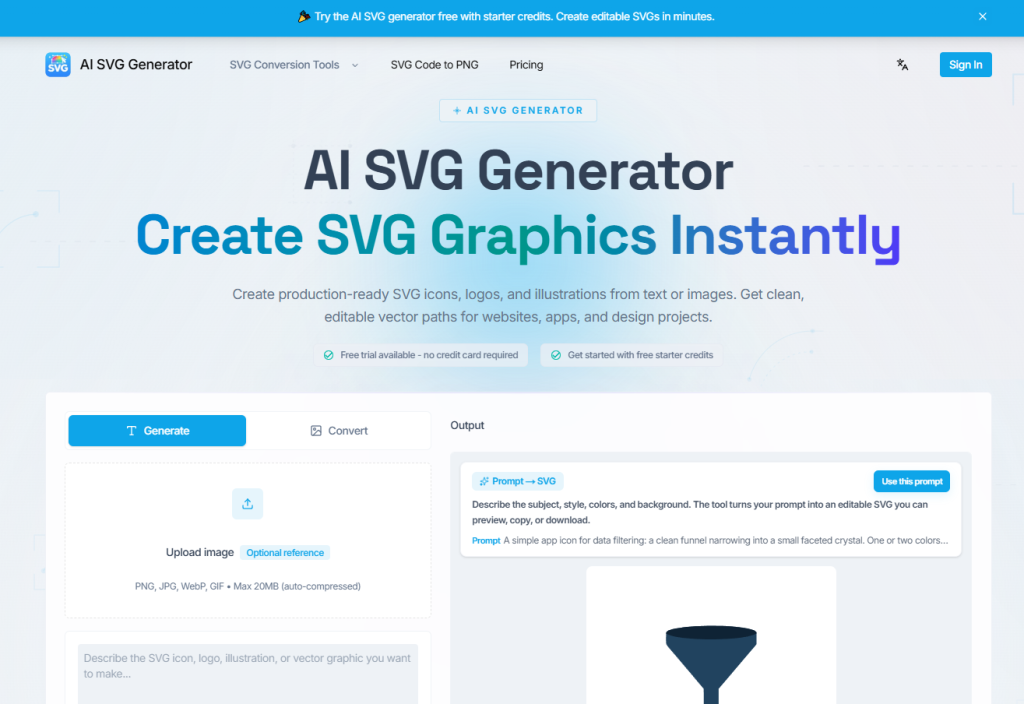
The gap between a good idea and a usable vector asset has always been a costly one. For years, the workflow has been predictable: sketch, open a design tool, draw, adjust, redraw, and then export. But the rise of AI image generators has introduced a new possibility—instant graphics from text prompts. The catch? Most of these tools produce flat pixels, not editable vectors. This is where a tool like svg generato enters the conversation, promising to deliver production-ready SVG code from simple descriptions. I spent time putting it through its paces to see if it actually holds up for real design and development work, moving beyond the typical “generate and pray” approach to something that might actually fit into a professional workflow.
The Real Test: Can a Prompt Replace a Designer’s First Sketch?
To understand if this tool is genuinely useful, I approached it not as a magic wand, but as a first-draft partner. The core promise is straightforward: describe what you need, and the AI returns structured SVG code. However, the real value lies in the quality of that code. Is it a messy pile of paths, or is it clean, layered, and ready for further refinement? I tested it across several common design scenarios to find out.
Logo Design: The Origami Compass Challenge
My first test was a classic branding exercise. I used the prompt: “A geometric logo mark of an origami compass shell, using negative space and a navy, copper, and ivory palette. Centered composition, no text.” This is a specific, challenging brief that would require a human designer to think about form, balance, and color theory. The result was surprisingly coherent. The tool generated a structured SVG with distinct paths for the compass points and the origami folds. The navy, copper, and ivory colors were accurately applied, and the negative space was used effectively to suggest the compass direction.
- What worked well: The output wasn’t a flat image. It was a real SVG with individual, editable paths. I could open it in a code editor or a design tool and immediately see the layers and groups. The geometry was clean, with no unnecessary points or bitmap tracing artifacts. This aligns with the platform’s claim of providing “real SVG structure instead of flattened PNG”.
- Where it fell short: The AI’s interpretation of “centered composition” was slightly off; the mark was centered but a bit small within the frame. The complexity of the origami folds also meant some paths were a bit more dense than I would have liked for a truly minimal logo. It wasn’t a final product, but it was an excellent first draft. For a product designer like Maya Rosen, who uses the tool to “generate 4-5 icon or illustration directions before opening Figma,” this is exactly the kind of starting point that saves hours of initial sketching.
UI Iconography: The 24px Dashboard Icon
For a more technical test, I moved to UI design. I prompted the tool to create a “crisp 24px line icon for product dashboards.” This is a scenario where precision is critical. The icon needs to be legible at a small size, have consistent stroke weights, and be scalable without losing clarity.
- What worked well: The tool generated a clean line icon with consistent stroke widths. The paths were optimized, and the SVG code was compact. The platform touts its compatibility with developer workflows, and this is where it shines. I was able to copy the inline code directly and drop it into a React component with minimal adjustments. The output felt like it was built for a design system, not just a one-off graphic.
- The limitation: While the icon was technically sound, the design itself was generic. It looked like a solid, standard icon, but it lacked a unique brand voice. This reinforces the idea that the tool is best for generating a solid, editable foundation, not a bespoke, award-winning piece of art.
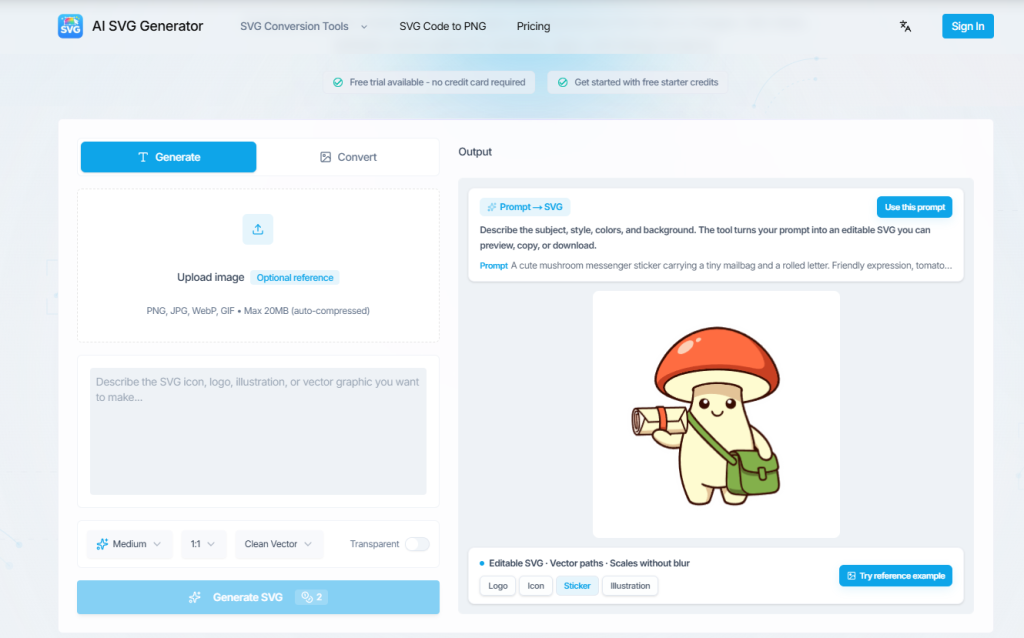
Illustration and Marketing Assets: The Hero Section
Finally, I tested the tool for a larger marketing asset, a “minimal landing-page illustration for SaaS hero sections.” This is a scenario where AI image generators often produce beautiful but unusable raster images.
- What worked well: The tool produced a flat illustration with editable shapes and groups. The composition was balanced, and the color palette was harmonious. The fact that it was an SVG meant I could easily change the color of a specific element to match a brand guideline, or adjust the scale of a component without losing quality. The platform’s focus on providing “one SVG file [that] powers apps, print, and dark-mode assets” becomes incredibly valuable here.
The Mechanism: How the Tool Actually Works
The process of moving from idea to editable vector is broken down into a clear, repeatable workflow.
Step One: Describe Your Graphic
This is the foundational step. The quality of the output is directly tied to the quality of the input. The tool encourages you to be specific about the subject, style, colors, and background. This is a critical point. A vague prompt like “a dog” will yield a generic result, while a specific prompt like “a minimalist line-art dog silhouette, suitable for a Cricut cut file, with closed paths” will produce a much more usable asset. This is not a limitation of the tool, but a reflection of how AI works. The more context you provide, the better the AI can interpret your needs.
- The practical takeaway: Treat the prompt like a brief you would give to a human designer. Include details about the intended use (e.g., “for a t-shirt graphic,” “for a mobile app icon”), the style (e.g., “flat illustration,” “geometric”), and the technical requirements (e.g., “scalable,” “single-layer”). This dramatically improves the chances of getting a usable result on the first try.
Step Two: Generate SVG
Once the prompt is submitted, the AI converts it into “clean, structured SVG code with editable paths”. This is the core differentiator. Unlike many AI image generators that output a PNG, this tool generates actual vector code. This means the result is composed of mathematical paths, not pixels. You can zoom in infinitely without blur, and every element is theoretically adjustable.
- What this means for you: You are not locked into a single, unchangeable image. You get a source file that you can treat as a starting point for further refinement. This is a game-changer for product teams, as it allows for a seamless handoff between designers and developers. As the platform states, you can “copy generated code into your codebase, or drop the SVG into Figma to keep refining the actual vector shapes”.
Step Three: Customize and Refine
This is where the real power of the tool reveals itself. You can “fine-tune the generated SVG’s style, color, and details, or regenerate variations”. This is a crucial feature that transforms the tool from a one-shot generator into a creative partner. If the first result is close but not perfect, you can tweak it. If you want to explore different directions, you can generate variations.
- The iterative process: In my testing, I found that the variation feature was particularly useful for logo design. After getting a solid first draft, I could generate a few alternatives with slightly different compositions or color treatments. This allowed me to quickly explore a range of options without having to redraw anything from scratch. For a solo founder or a small team, this ability to rapidly iterate on concepts is invaluable.
Step Four: Export and Use
The final step is about integration. You can “download the SVG file or copy optimized code”. The platform supports a wide range of workflows, including Figma, React, Illustrator, Sketch, and Tailwind CSS. This is where the tool proves its worth as a production-ready asset generator. The output is not a dead-end; it’s a living document that can be used across multiple platforms.
- Developer-friendly features: For developers, the ability to copy optimized React components and Tailwind-ready markup is a massive time-saver. It eliminates the tedious step of manually converting a design file into code. For designers, the ability to copy-paste directly into Figma layers preserves anchor points, stroke weights, and groups, providing a “clean starting point” for further refinement.
Comparing the Experience: AI Vector Generator vs. Traditional Methods
To put the experience into perspective, it’s helpful to compare this AI-driven workflow against the traditional methods most creatives are used to. This table outlines the key differences I observed.
| Factor | Traditional Vector Creation | AI SVG Generator Workflow |
| Use & Learning Curve | Steep learning curve; requires mastery of complex software. | Gentle learning curve; accessible to non-designers. |
| Process & Speed | Slow, iterative process. Can take hours or days for complex assets. | Rapid generation of drafts. First drafts in seconds. |
| Creative Control | Complete control over every anchor point and path. | High-level control through prompting; fine-grained control via editing the generated SVG code. |
| Best For | Final, polished, and highly bespoke designs. | Rapid ideation, generating starting points, and creating assets for standard use cases. |
| Experience & Outcome | Consistent and predictable outcome but high labor cost. | Outcome depends on prompt quality; may require multiple generations. |
The Honest Limitations: When the Tool Doesn’t Quite Deliver
No tool is perfect, and it’s important to be realistic about the SVG Generator’s capabilities. The biggest limitation is the dependency on prompt quality. A vague or poorly constructed prompt will result in a poor output. This requires a shift in mindset from “telling the computer what to do” to “writing a clear brief for a designer.” It’s a skill that takes practice to develop.
Furthermore, while the tool generates structured vectors, the complexity of the design is limited by the AI’s current understanding of form and composition. Highly complex scenes with multiple interacting elements or very specific, niche subjects may result in a messy or unusable SVG. The result may vary, and as the platform notes, most generations use 1-4 credits, implying that complex requests might require more computational power. For complex scenes, you might need to generate a few times to get a usable result, or use the generated output as a base layer to build upon in your own design tool. The tool is a powerful assistant, but it is not a replacement for a skilled human designer for final, polished work.
Who Is This Really For?
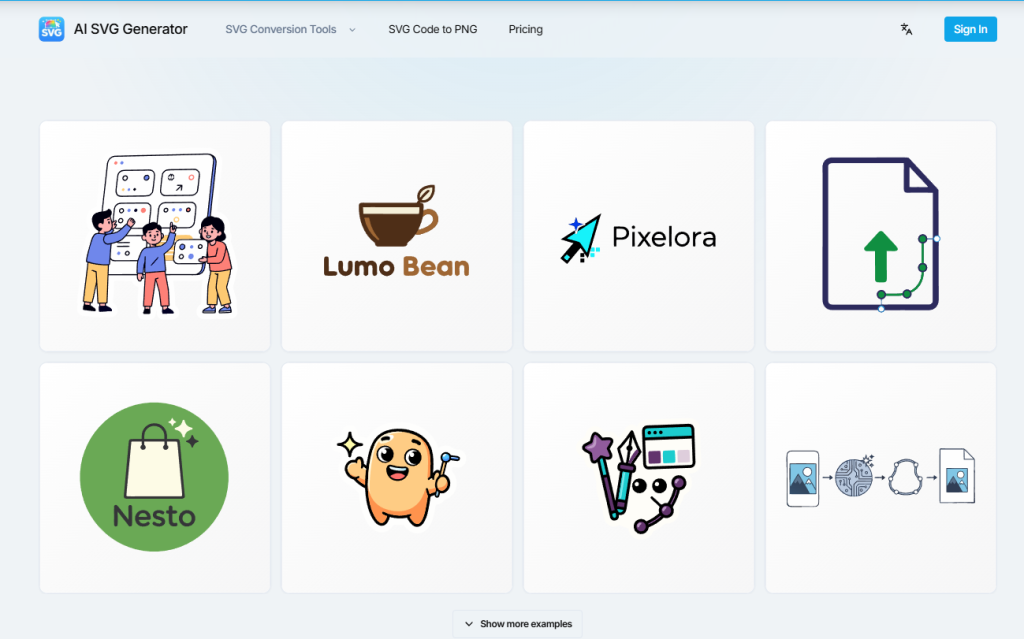
The true value of this tool becomes clear when you consider who it’s for. It’s not trying to replace a senior designer; it’s trying to make that designer’s life easier. Based on my testing and the real-world testimonials on the site, it’s an ideal solution for several distinct groups.
- For the Solo Founder: As Owen Mitchell, an indie founder, notes, the ability to create consistent assets for app icons, onboarding illustrations, and a launch page without hiring separate freelancers is a game-changer. It empowers non-designers to create professional-looking assets, bridging the gap between idea and execution.
- For the Frontend Developer: Developers can use the tool to generate custom icons and illustrations for their projects without having to wait for a design team or struggle with a design tool themselves. As Daniel Park, a frontend engineer, puts it, the tool gives him “the style [he] need[s] for empty states and settings, ready for React”.
- For the Product Designer: For designers, the tool serves as a powerful ideation partner. It can generate 4-5 different directions for an icon or illustration in the time it would take to sketch one, allowing for faster exploration and more confident decision-making.
- For the Etsy Shop Owner: Speed is critical for creators who need to react to market trends. The tool allows them to quickly test sticker and cut-file ideas before a trend passes, significantly accelerating their product development cycle.
Ultimately, svg generato is a pragmatic tool for a specific problem. It is not a magic wand that creates perfect, finished artwork with a single click. It is a powerful, intelligent assistant that can generate a solid, editable first draft in seconds. It democratizes access to vector graphics, speeds up the ideation process, and bridges the gap between design and development. It fits best in a workflow where speed and iteration are valued, providing a foundation that a skilled human can then refine and perfect. It’s a tool that, in my experience, delivers on its core promise: turning ideas into editable vectors, and letting you take it from there.
